
Have you ever wondered how to expand your Dieffenbachia plant collection without breaking the bank? There is no need to look any further!
Propagating Dieffenbachia from cuttings is a satisfying and cost-effective way to develop new plants, and we’ll walk you through the entire process step by step in this detailed tutorial.
Learn the art of propagation and see a simple cutting grow into a flourishing and beautiful Dieffenbachia plant.
Contents
Preparing for Propagation

It is vital to set the framework before venturing into the world of Dieffenbachia propagation. Before starting the propagation process, it’s crucial to set the stage for success. Here is crucial stage that must be considered when your doing Dieffenbachia propagation.
-
Timing
Choose the most appropriate developmental stage for reproduction. The greatest time to start new Dieffenbachia plants is in the spring or early summer, when they are actively growing. The plant generates more roots during this stage, boosting the odds of successful propagation.
-
Equipment and Materials
Gather the materials needed to grow more Dieffenbachia plants. Sharp, clean scissors or pruning shears are required. Purchase the correct planting soil, such as a blend of perlite and peat moss that allows water to drain fast.
-
Sterilization
Clean your instruments well before beginning to develop new plants to avoid the spread of diseases and infections. This stage is crucial in ensuring that the cuttings are healthy and disease-free.
Choosing and Cutting Dieffenbachia Stem

Selecting the right stem and making precise cuts are vital for propagation. Because understanding the many types of cuttings and choosing the healthiest ones are the foundations of successful propagation almost all plants.
-
Types of Cuttings
Dieffenbachia can be propagated using stem, leaf, and shoot cuttings, among others. Stem cuttings are the most common and dependable method for novices since they have a higher chance of forming roots.
-
Choosing Healthy Cuttings
Choose a robust, fully grown stem cutting that shows no symptoms of injury or illness. Choose plant parts that have at least two or three projecting prongs. Root growth is more common in these areas.
-
Clean and Precise Cuts
Make clean cuts immediately below a node on the chosen stem using sharp, disinfected pruning scissors. Avoid crushing or injuring the stem during the cutting procedure, since this can impede roots.
Preparing and Planting the Cuttings

It is now time to plant your cuttings. Learn why rooting hormones are necessary for healthy root growth and how to use them correctly to ensure successful root growth.
-
Rooting Hormones
A rooting hormone given to the cut end of a Dieffenbachia cutting can boost root development considerably. Rooting hormones are growth hormones that help the cutting produce roots fast and efficiently.
-
Choosing the Right Potting Mix
Plant the Dieffenbachia cuttings in a potting mix that drains properly. A perlite-peat moss blend offers the best balance of aeration and moisture retention, promoting healthy root growth.
-
Planting Process
Insert the cut end of the stem cutting carefully into the prepared potting mix, making sure it is deep enough to support the cutting upright. To add support, lightly press the soil around the base of the incision.
Caring for and Nurturing the Cuttings

During the rooting process, providing proper care is crucial for the successful development of new roots. Discover perfect humidity and lighting conditions for promoting root growth in Dieffenbachia cuttings, protecting them from pests and diseases during the roots stage.
-
Humidity and Lighting
Keep the space around the cuttings moist so they don’t dry out. Put the cuttings in a see-through plastic bag or a humidifying dome to keep them safe. Place the cuttings in a light, but not too bright, location so that they may promote photosynthesis without getting too much sun.
-
Pest and Disease Prevention
Inspect the cuttings on a regular basis for signs of pests or diseases, such as wilting or discolouration. Overwatering should be avoided because it can encourage fungal illnesses. If you discover any problems, use organic pest control methods to solve them right away.
-
Routine Care
Maintain a consistent maintenance routine that involves lightly spraying the cuttings to maintain the humidity high and keeping the potting mix moist but not saturated. Avoid overwatering or allowing the cuttings to totally dry up. Patience is essential at this point because root development can take many weeks.
Transplanting Rooted Cuttings

It’s time to transplant your cuttings into larger pots once they’ve properly rooted. We’ll show you how to identify signals of effective root development and how to prepare your cuttings for transplantation. Learn how to gently transfer your rooted cuttings to their new homes and assist them in adapting to their new settings for best growth.
-
Signs of Successful Root Development
Before transplanting, gently pluck on the bottom of the cuttings to check for strong roots. Because the existence of roots indicates resistance, the cutting is appropriate for transfer and replanting.
-
Pot Selection
Choose a pot that is one size larger than the original container. Ensure the new pot has drainage holes to prevent waterlogged soil, which can lead to root rot.
-
Transplantation Process
Remove the rooted cuttings from their existing pots gently, being cautious not to damage the fragile roots. Fill the center of the new container with fresh, well-draining potting mix. Push the ground around the cuttings gently to keep them in place.
Continued Care for Young Plants
The adventure does not finish with transplantation; rather, it is just beginning! After transplanting your propagated Dieffenbachia cuttings into larger pots, they require special care to thrive and establish themselves as healthy young plants.
-
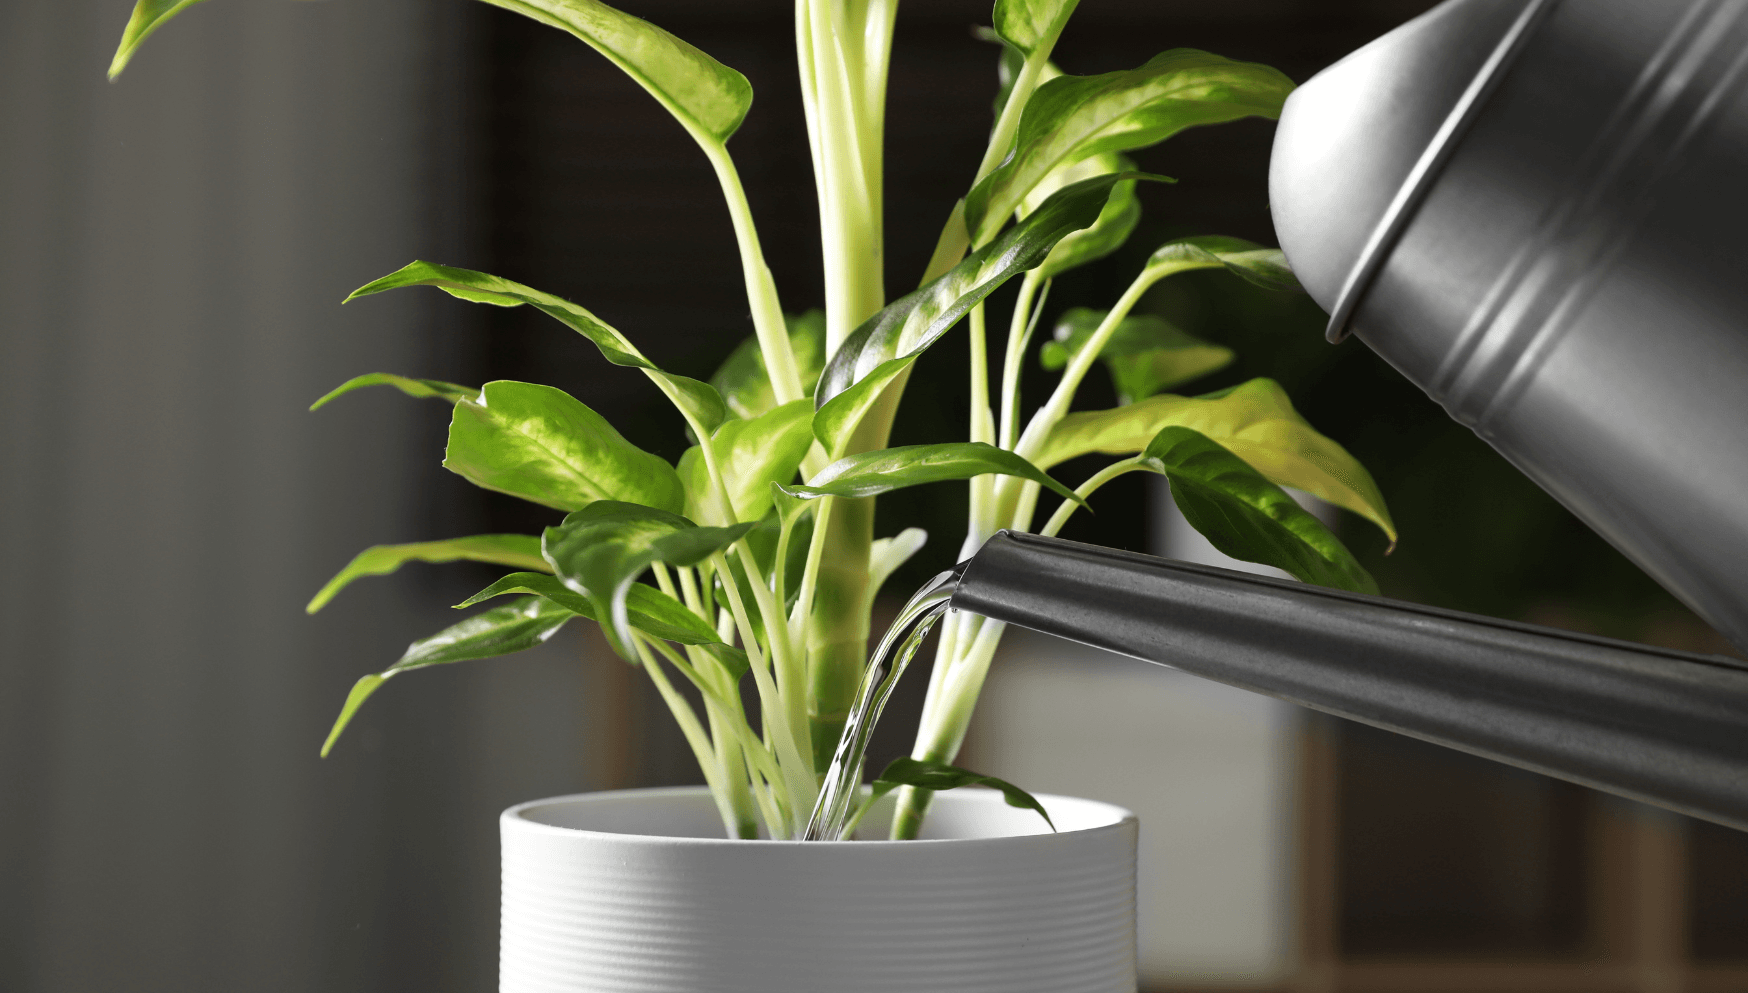
Watering
Provide consistent and moderate watering to keep the potting mix evenly moist, but avoid overwatering, as it can lead to root rot. Allow the top inch of the soil to dry out between waterings to strike the right balance.
-
Fertilization
Feed the young plants with a balanced liquid fertilizer at half-strength every two to four weeks during the growing season (spring and summer). This provides essential nutrients to support healthy growth.
-
Lighting
Place the young Dieffenbachia plants in a location with bright, indirect light. Avoid direct sunlight, as it can cause leaf scorching. Rotate the pots regularly to ensure even growth and prevent leaning towards the light source.
-
Humidity
Maintain a humid environment around the young plants by misting them regularly or placing a humidity tray nearby. This helps mimic their natural tropical habitat and promotes lush growth.
-
Pruning
If necessary, prune the young plants to maintain a bushy and attractive shape. Regularly remove any yellowing or damaged leaves to encourage new growth.
-
Pest and Disease Management
Continue to monitor the plants for pests and diseases, especially during periods of increased humidity. Early detection and prompt treatment with organic solutions will help keep your young plants healthy.
-
Repotting
As your Dieffenbachia plants grow, they may outgrow their pots. Consider repotting them into slightly larger containers every one to two years to provide ample space for their expanding root systems.
Conclusion
You’ve successfully cultivated Dieffenbachia and witnessed a cutting grow into a lovely plant. We have provided you with a clear and simple procedure for becoming an expert at propagation in this guide.
This method not only makes you happy and content, but it also allows you to develop your Dieffenbachia plant collection without spending a lot of money. Take pleasure in caring for your plants and appreciating how they enhance the appearance of your indoor area.