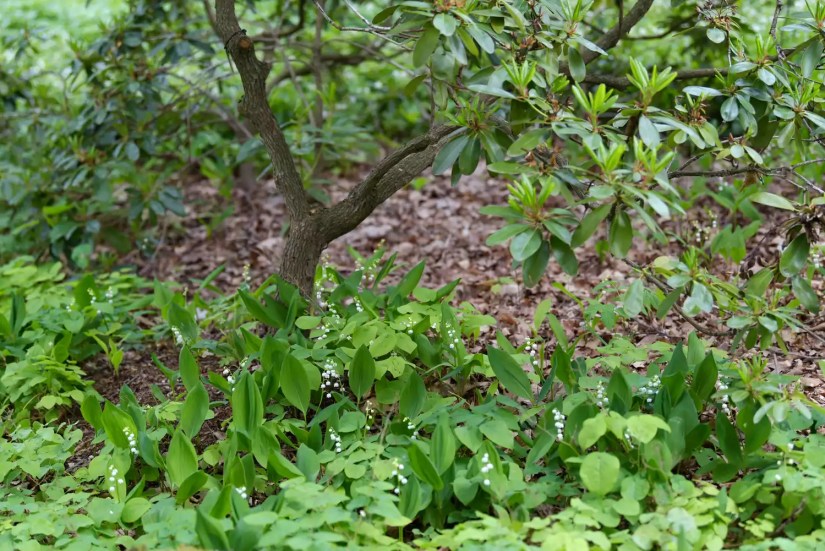
Lily of the Valley (Convallaria Majalis) is a captivating flowering plant known for its delicate white bell-shaped flowers and sweet fragrance.
Whether you’re a seasoned gardener or a beginner, this comprehensive guide will provide you with step-by-step instructions on how to successfully plant, care for, and propagate Lily of the Valley.
By following these guidelines, you’ll be able to enjoy the beauty of this enchanting plant in your own garden.
Contents
Getting to Know Lily of the Valley

Lily of the Valley is a perennial plant that thrives in cool temperate climates. It features lance-shaped leaves and elegant arching stems that bear clusters of white flowers.
These blooms emit a lovely scent, making them a popular choice for gardens and floral arrangements.
Planting Lily of the Valley

Soil Preparation
To ensure healthy growth, Lily of the Valley prefers moist, well-draining soil rich in organic matter. Prepare the planting area by removing any weeds or debris.
Loosen the soil and incorporate compost or well-rotted manure to improve its fertility and structure.
Planting Process
Lily of the Valley can be planted using either bare-root rhizomes or potted plants. Dig a hole that is deep enough to accommodate the roots or rhizomes, leaving the crown at or slightly above the soil level.
Space the plants about 6 to 8 inches apart to allow for proper growth.
Initial Care
After planting, water the Lily of the Valley thoroughly to settle the soil around the roots. Apply a layer of organic mulch to help retain moisture and suppress weed growth.
Regularly monitor the soil moisture and provide supplemental watering during dry spells.
Caring for Lily of the Valley

Watering and Humidity
Lily of the Valley requires consistent moisture, especially during its active growth period. Water the plants deeply, ensuring the soil remains evenly moist.
Be cautious not to overwater, as excessive moisture can lead to root rot. Regularly check the soil moisture levels and adjust watering accordingly.
Fertilization and Routine Maintenance
In early spring, apply a balanced slow-release fertilizer to provide essential nutrients for healthy growth. Remove any spent flowers and trim back yellowing foliage to maintain the plant’s appearance.
Keep an eye out for pests and diseases, such as aphids and fungal infections, and take appropriate measures to control them.
Propagating Lily of the Valley
Lily of the Valley can be propagated through division or by transplanting offshoots. Dividing mature clumps in early spring or autumn allows for the expansion of your Lily of the Valley patch.
Transplanting offshoots that emerge from the main plant can also be done to propagate new plants.
Common Troubleshooting for Lily of the Valley

Pests and Diseases
Lily of the Valley is generally resistant to pests and diseases. However, aphids, slugs, and snails can occasionally cause damage. Employ natural pest control methods or use appropriate insecticides to manage infestations.
Additionally, fungal diseases like leaf spot and powdery mildew can be prevented by ensuring good air circulation and avoiding overhead watering.
Poor Growth or Lack of Flowering
Several factors can contribute to poor growth or limited blooming in Lily of the Valley. Insufficient sunlight, overcrowding, and improper soil conditions are common culprits.
Address these issues by providing adequate light, thinning out crowded plants, and amending the soil with organic matter.
Conclusion
By following this complete guide, you now have the knowledge and tools to successfully grow, care for, and propagate Lily of the Valley in your garden.
Remember to provide the plant with the right conditions of moisture, light, and soil fertility. With its delicate flowers and enchanting fragrance, Lily of the Valley will undoubtedly add charm and beauty to your outdoor space.
Enjoy the rewards of your efforts as you witness the flourishing blooms of this delightful perennial.
